Watercolor painting is a beautiful and rewarding art form that can seem intimidating to beginners. The way the paint flows and mixes on paper creates effects that are both unpredictable and magical. But don't worry! With some basic techniques and a bit of practice, you'll be creating stunning watercolor paintings in no time.
Essential Supplies
Before we dive into techniques, let's make sure you have the right supplies:
- Watercolor paper (140lb/300gsm or heavier) - Regular paper will warp and buckle with water
- Watercolor paints - Start with a basic set of 12-14 colors
- Brushes - Round brushes in sizes 2, 6, and 10 are good to start with
- Water containers - Two containers: one for clean water and one for rinsing
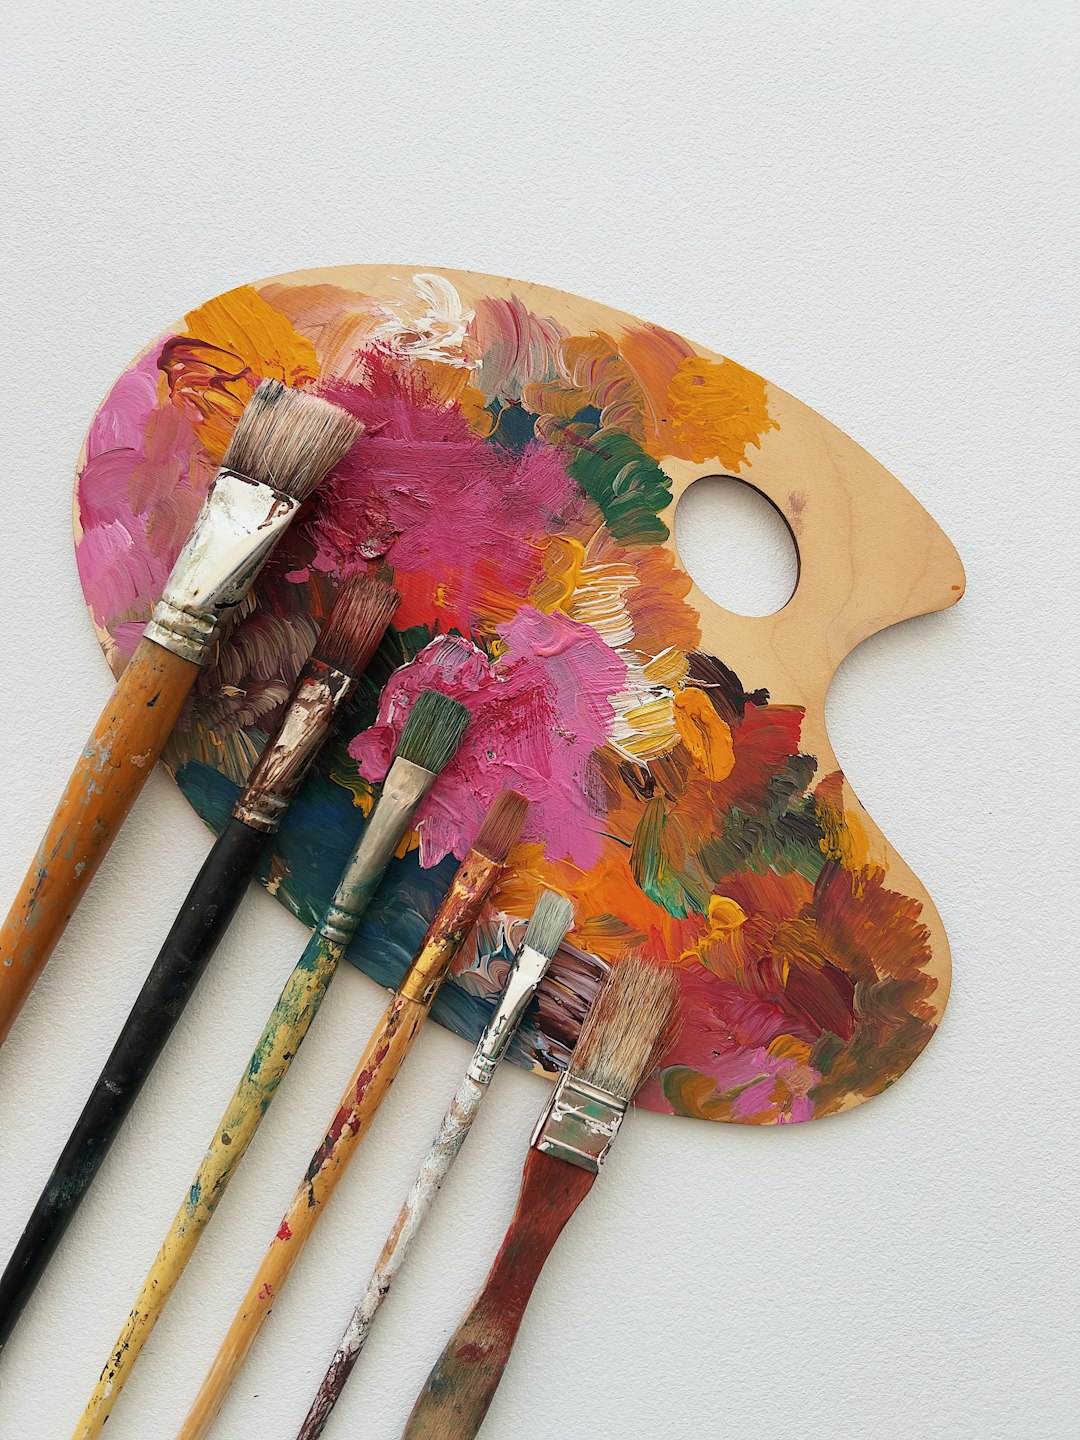
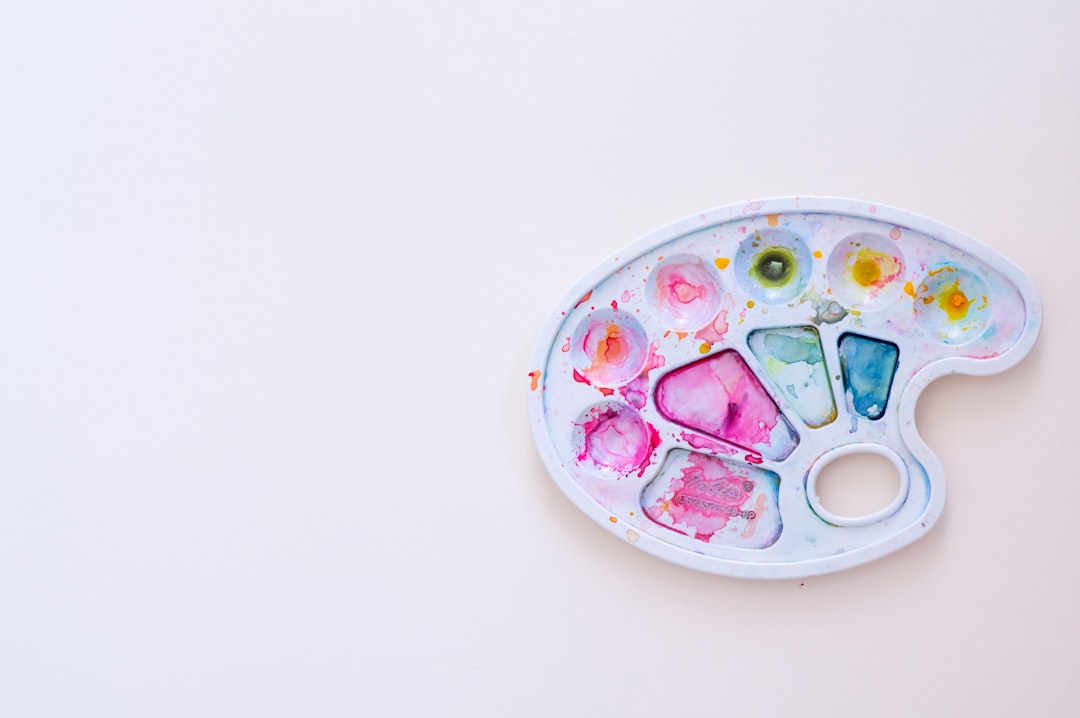
- Palette - For mixing colors
- Paper towels or cloth - For blotting and controlling moisture
Basic Watercolor Techniques
1. Wet-on-Wet Technique
This technique involves applying wet paint to wet paper, creating soft, diffused effects perfect for backgrounds, skies, and water.
How to do it: Wet your paper with clean water using a large brush. While the paper is still glistening wet (but not pooling), apply paint with your brush. Watch as the colors spread and blend naturally. This creates beautiful, soft gradients and organic shapes.
Wet-on-wet technique creates soft, blended effects
2. Wet-on-Dry Technique
This involves applying wet paint to dry paper, giving you more control and creating crisp edges.
How to do it: Simply apply paint directly to dry paper. This technique allows for more precision and is great for detailed work and defined shapes.
3. Dry Brush Technique
This technique creates texture and is perfect for rendering rough surfaces like rocks, tree bark, or grass.
How to do it: Use a fairly dry brush with paint that has a creamy consistency. Lightly drag the brush across the paper so that the paint only catches on the raised parts of the paper's texture.
4. Glazing
Glazing involves applying transparent layers of color on top of dry layers, building depth and luminosity.
How to do it: Apply a layer of paint, let it dry completely, then apply another transparent layer on top. Make sure each layer is completely dry before applying the next to prevent colors from lifting or mixing.

Glazing technique creates depth through transparent layers
5. Salt Technique
This creates interesting textures perfect for starry skies, snow, or textured surfaces.
How to do it: While your paint is still wet, sprinkle table salt onto the surface. As the paint dries, the salt will absorb some of the pigment, creating a speckled effect. Once completely dry, brush off the salt.
Common Beginner Challenges and Solutions
Blooms or Cauliflowers
These are those unwanted splotchy patterns that occur when wet paint is added to a semi-dry wash.
Solution: Either work completely wet-on-wet, or wait until your paper is completely dry before adding more paint. Alternatively, you can embrace blooms as a creative element in your painting!
Muddy Colors
This happens when too many colors mix together, losing their vibrancy.
Solution: Limit your palette to 2-3 colors per painting when starting out. Clean your brush thoroughly between colors, and let layers dry before adding new colors on top.
Paper Buckling
This happens when the paper absorbs water and warps.
Solution: Use heavier paper (300gsm or more) or stretch your paper before painting by soaking it and taping it to a board until dry.
Simple Projects to Try
Gradient Sky
Practice the wet-on-wet technique by creating a simple gradient sky. Wet your paper completely, then apply blue at the top, gradually adding more water as you move down to create a fade-out effect.
Simple Leaf
Practice wet-on-dry by painting a simple leaf shape. Add details and veins once the base layer is dry using a finer brush.
Abstract Color Study
Create small rectangles on your paper and fill each with different techniques: wet-on-wet, wet-on-dry, glazing, etc. This is a great way to see the effects side by side.
Practice different techniques in a color study grid
Final Tips for Beginners
- Be patient - Watercolor requires you to work with the medium, not against it
- Embrace "happy accidents" - Some of the most beautiful effects in watercolor are unplanned
- Let each layer dry completely before adding the next
- Practice regularly - Even 15 minutes a day will improve your skills dramatically
- Study the work of other artists to understand how they achieve certain effects
Remember, watercolor painting is as much about letting go of control as it is about technique. Embrace the unique properties of this beautiful medium, and don't be afraid to experiment and make mistakes. That's how you'll develop your own style and voice as an artist.
Happy painting!